Use APKPure App
Get Brilliant DIY Swarovski Crystal Nails old version APK for Android
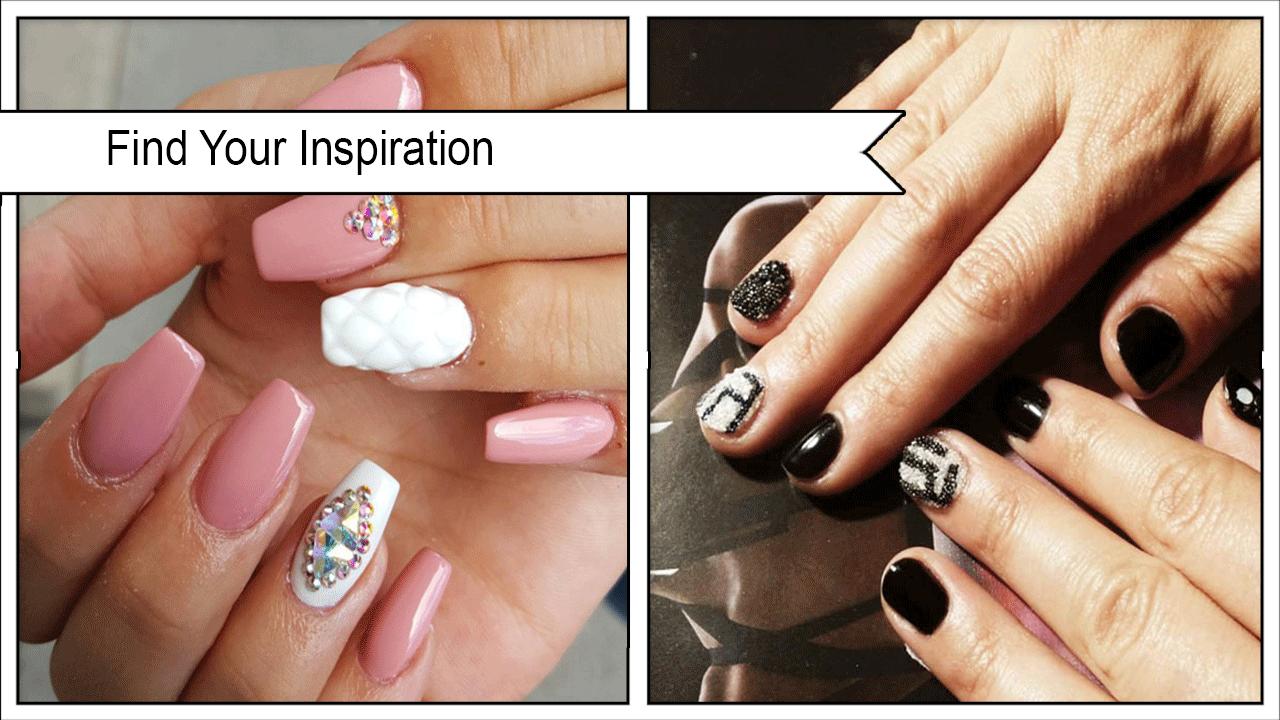
Here’s A Application Dedicated To Brilliant DIY Swarovski Crystal Nails
Embellish Your Lovely Hands
Do you want an over-the-top elegance when it comes to nail designs? Try this Brilliant Swarovski Crystal Nail Design. You’ll love how exquisite it could be on your nails.
This cute and fascinating nail art design will add sparkle to your lovely hands. It will also enhance and complete your entire look. So get ready to polish your hands and add some crystals to make your nails far more beautiful and eye catching. Check out the tutorial below and inspire yourself.
What you will need:
- glitter nail polish
- brush on gel glue
- gel top coat
- UV lamp
- swarovski crystals
- toothpick
Instructions:
Step 1. Apply Base Coat
Paint your nails with the glitter nail polish as for your base. Make sure that you start on the middle of your nails to apply it evenly.
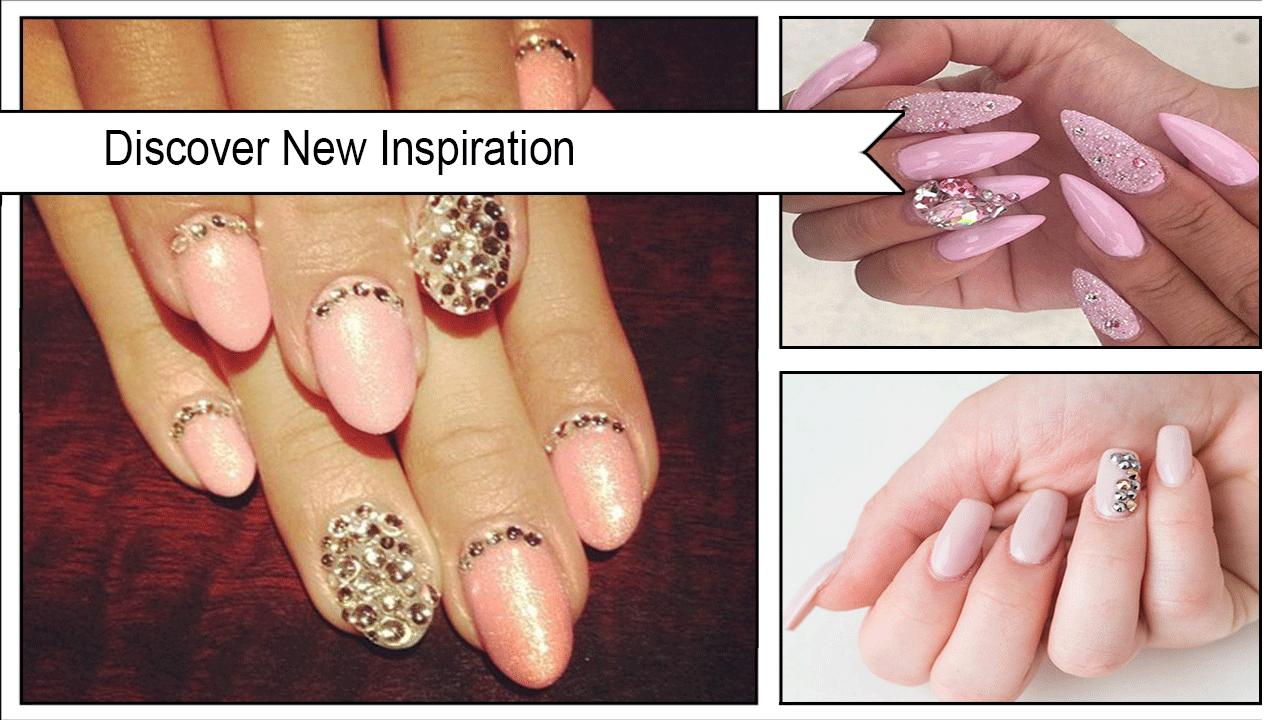
Step 2. Ready your Swarovski Crystals
Take the Swarovski crystals in small, medium and large sizes. Obviously, it is nice to have varied sizes of crystals.
Step 3. Apply Gel Glue
Apply some gel glue on your nails.
Step 4. Add the Crystals
Add the crystals on your nails one by one using a toothpick with a wax at the tip. Alternate the different sizes of the crystals. You can add more gel glue if necessary.
Step 5. Cure Nails
Once you’re done putting the crystals, cure your nails under a UV lamp for 30 seconds.
Step 6. Apply Gel Top Coat
Apply a thin layer of gel top coat. Always remember if the designs are similar to this, a gel top coat is the best choice because it adds brilliant glossy finish aside from making the crystals durable.
Step 7. Cure Top Coat
Place your nails under the UV lamp to cure the gel top coat. Nailsmag says that the UV lamps needs to have a wavelengths of 340 to 380 nanometers (nm) to cure the gel well.
Doesn’t it look cute and elegant? Now everybody will ask you how you did it.
for further information and detail tutorial, download this now and grab what you want.
please enjoy this Brilliant DIY Swarovski Crystal Nails Design and give us any feedback.
Last updated on Mar 4, 2018
Each Brilliant DIY Swarovski Crystal Nails has helpful photos and step-by-step instructions to ensure you don't miss a step. Once you've mastered any one of these new Brilliant DIY Swarovski Crystal Nails, find a Brilliant DIY Swarovski Crystal Nails and put your skills to the test!
Feature List:
✓ Amazing 300+ Brilliant DIY Swarovski Crystal Nails with step by step.
✓ You can share all tutorial to social media and other
✓ Zoom in, zoom out for all tutorial.
Latest Version
![]() 5.1
5.1
Uploaded by
Matheus Sousa
Requires Android
Android 4.0+
Category
Report


Discover what you want easier, faster and safer.

Brilliant DIY Swarovski Crystal Nails
5.1 by Allacrity
Mar 4, 2018