


CapCut Tips and Tricks: 12 Things Every Beginner Should Know

2026-07-14
New to CapCut? Learn 12 practical video editing tips for Android, from auto-captions and beat sync to keyframe animations and export settings.

You've downloaded CapCut and imported your first clip, but now you're staring at the timeline, wondering what half those icons even do. Fair enough. The video editing app looks simple on the surface but hides a lot of useful editing power under that clean interface.
This CapCut tutorial covers the stuff that actually makes a difference: the settings most people skip, the tools that save hours of fiddling, and a few tricks that'll make your edits look polished without needing film school. No fluff. Just the editing moves that work.
CapCut Editing Basics That Save You Time
A few fundamentals make everything else easier. Get these right and you won't be fighting the timeline later.
- Trim from the edges, not the middle. When you drag clip ends to trim, CapCut keeps the original file intact. When you split and delete from the middle, you're stuck with your choices. Trim first, split later. It's faster and less messy.
- Turn off the default watermark before you ever hit export, because CapCut adds a logo to the corner of every video by default, and nothing announces "I just started editing" louder than that bouncing watermark. Go into Settings under "Save and share" and toggle it off once. After that, it stays off for every project you make, and you'll never have to think about it again.
- Use the duplicate project feature before you try something risky. Three dots on any project thumbnail, then Duplicate. Now you've got a safety copy. This CapCut trick alone has saved hours of re-editing for people who tried a big change and couldn't undo it.
- Pinch to zoom the timeline. Most new users don't realize they can spread two fingers on the timeline to zoom in for frame-level precision on an Android phone. Pinch for fine edits, unpinch to see the full video. Simple but surprisingly easy to miss.

CapCut Effects and Transitions That Don't Scream "Template"
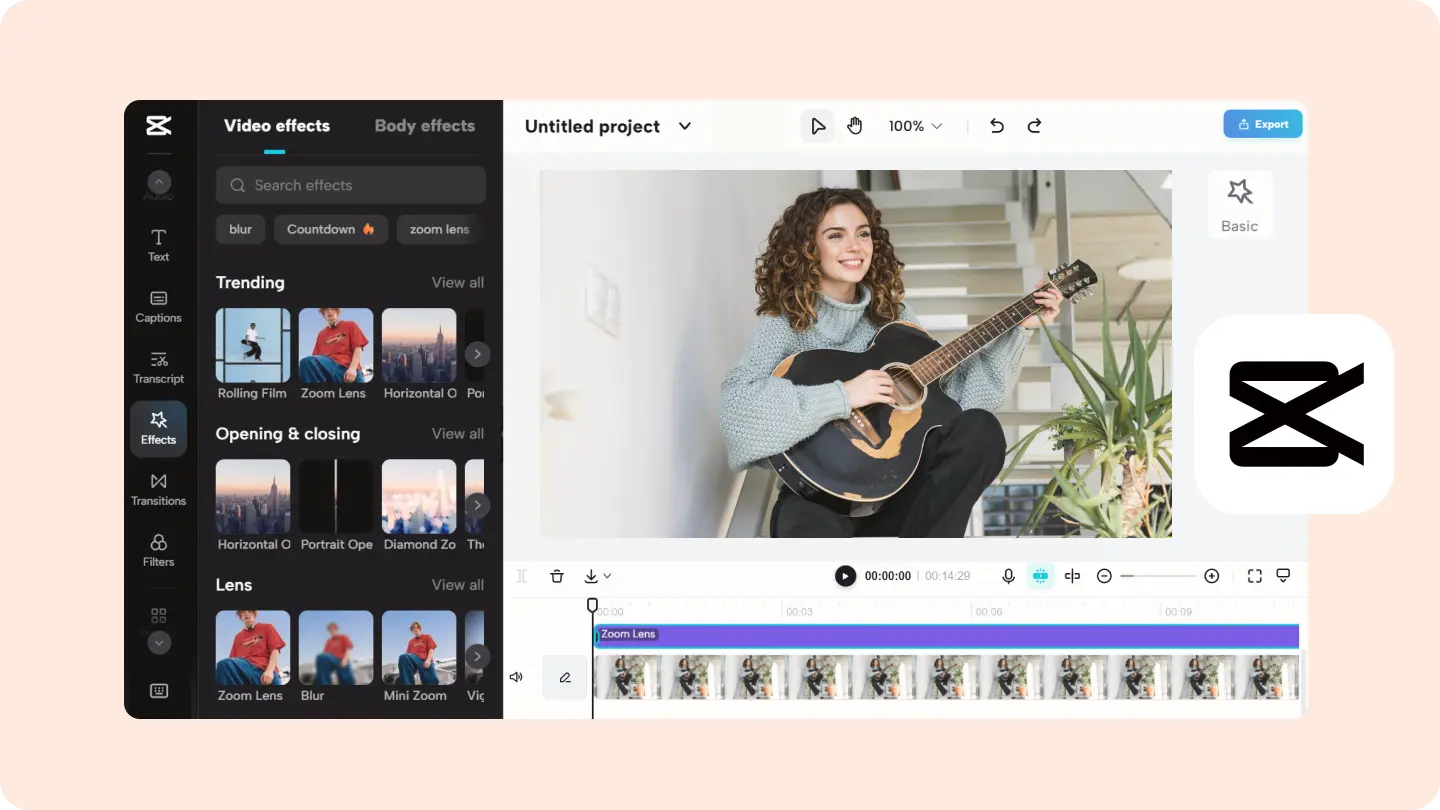
The built-in effects library in CapCut has over 3,000 options. That's a lot. Most will make your video look like a 2015 slideshow. Here's what actually works.
- Apply effects to specific clips, not the whole project. Tap a clip, then tap Effects. If you apply from the main menu instead, the effect sits on top of everything. Clip-level effects keep things targeted. You want a VHS look on just the throwback segment, not the whole video.
- Use a fade transition between every clip for the first week so you don't get distracted by flashy transitions before you've learned basic pacing. A simple crossfade between clips is invisible but effective, and once you're comfortable with that foundation, you can graduate to match cuts and motion blur transitions.
- The "Shake" effect is the new comic sans, because every creator who opens the CapCut effects panel reaches for it first, and after you've seen it in 40 videos this week, it just feels tired. If you feel the urge to shake something, try the "Zoom In" effect instead. Same energy, way less worn out.
- Speed curves beat constant slow motion because watching everything crawl at half speed gets numbingly boring after about ten seconds, but a curve that ramps down to slow-mo at the peak moment and then speeds back up creates rhythm and tension instead of flat monotony. Instead of setting a whole clip to 0.5x speed, tap Speed, then Curve, and create a ramp. The clip plays at normal speed, gradually slows at the key moment, then speeds back up. Much more natural than flat slow-mo.
CapCut Auto-Captions and Text Tricks
Text is where most CapCut tutorials stop at "add a title and move on." But captions are arguably the most important element for short-form video.
- Auto-captions aren't set-and-forget. Tap Text, then Auto Captions, pick your language, and CapCut transcribes the audio. It's fast. It's also wrong about 5 to 10 percent of the time. Words get mangled, punctuation lands in odd places. Spend two minutes scanning through the captions and fixing the errors. Your viewers will notice when "specifically" becomes "pacifically."
- Set caption styles once, apply everywhere. Tap a caption box, choose your font, color, and background, then tap "Apply to All Captions." You've just saved yourself from styling 47 individual text boxes one by one. What a pain that would be.
- Add a second text track for emphasis words. On the main track, keep normal captions. On a second text layer (tap Text, then Add Text), place bold single words that pop up on key phrases. Think of it like underlining a sentence. The viewer's eye catches the emphasized word even while scrolling.
- Resize text for different platforms. TikTok and YouTube Shorts show captions lower on the screen. Instagram Reels put them higher. CapCut lets you save multiple text style presets, but the quickest approach is to just adjust the position and font size per project. A few taps and you're done.

CapCut Audio and Music That Doesn't Get Muted
Audio makes or breaks retention. Bad audio gets scrolled past faster than bad video.
- Extract audio from any video in your camera roll. Tap Audio, then Extracted Audio, and pick a video so CapCut can pull the sound track out and drop it right onto your timeline. Useful for voiceovers you recorded separately on your phone's voice memos, or for pulling background sounds from old clips you want to reuse.
- Lower the music volume, and then lower it some more, because the single most common audio mistake in beginner edits is background music sitting at the default level and drowning out the speaker's voice completely. Drop it to 15 to 20 percent so the human voice sits clearly above the music. If you can hum the background track while someone's talking, it's too loud and you need to pull it down further.
- Sound effects at the right moment. CapCut has a library of built-in SFX. The "whoosh" on a transition is predictable. The "camera shutter" on a photo reveal is obvious. But a subtle "ding" when a text bubble appears? That adds polish without drawing attention to itself. Use sparingly.
- Beat sync is automatic now, but you should still take a quick pass through the marked points to verify they landed where they should. Tap a music clip, then tap Beat so CapCut marks the rhythm points on the audio waveform, and then align your cuts to those marks for a clean result. The feature usually works well enough to trust, but for songs with syncopation or tempo changes, checking a few key moments only takes 30 seconds and saves you from exporting something with cuts that drift off-beat.

CapCut Keyframes for Motion Without Motion Graphics Skills
Keyframes sound intimidating. They're not. They let you animate anything over time without any animation skills.
- Your first keyframe animation: a slow zoom. Tap a clip, then tap the keyframe diamond icon. Move the playhead to the end of the clip and pinch to zoom in slightly. CapCut automatically creates a smooth zoom from the start to the end. That's it. You just turned a still shot into something that feels alive and intentional.
- Combine keyframes with text. Move text across the screen, make it grow, or fade it out, all by placing two keyframes and changing the text position or opacity between them. This CapCut trick turns basic captions into kinetic typography without touching a motion graphics tool.
- Don't overdo the keyframes because piling on multiple animations at once turns your edit into visual chaos instead of the polished look you're actually going for. One keyframed element per section is enough. A slow zoom on the main clip plus moving text, plus a drifting effect, equals confusion, so pick one motion, apply it cleanly, and let it breathe without competition.

CapCut Export Settings Worth Changing
The default export settings aren't always right. A few taps here make a real difference.
- Export at 1080p, 30fps for most social media. CapCut defaults to whatever your source footage is. TikTok, Reels, and Shorts all display at 1080p. Going higher wastes processing time and file size without a visible benefit. For YouTube, bump to 4K if your phone supports it and the footage is sharp enough.
- Set frame rate to match your source. If you shot at 30fps and export at 60fps, CapCut duplicates frames and the result looks no better. If you shot 60fps and export at 30fps, you lose the smoothness. Match them.
- Enable Smart HDR only if your phone has an HDR display. HDR exports look washed out on phones and monitors that don't support the format. Most people watching on budget Android phones won't see HDR correctly. When in doubt, leave it off.
- Save your project to the cloud if you switch between devices. CapCut syncs projects across Android, iPhone, and desktop. Tap the cloud icon in the project list. If you start editing on your phone and want to finish on a tablet, this takes about 30 seconds and saves starting over.

Getting CapCut on Android
If you don't have the video editing app yet, you can download CapCut right here on APKPure. The latest CapCut APK installs on most Android devices running 5.0 and up. It's free with optional Pro features for advanced effects and cloud storage.

CapCut is a mobile video editor that helps you create and export videos for social platforms.
- How to Download PixVerse: AI Video Generator APK Latest Version 3.21.6 for Android 2026
- How to Download Fresha for business APK Latest Version 2.8.10807 for Android 2026
- How to Download Starlink APK Latest Version 2026.23.0 for Android 2026
Final Tips
Start with these 12 techniques and your edits will immediately look cleaner and feel more intentional. Don't try to use all of them in one video. Pick two or three to focus on. Next project, add two more. The difference between a beginner's edit and a polished one isn't a secret tool. It's knowing which three CapCut tricks actually matter and ignoring the other 3,000.
 NEWS
NEWS REVIEWS
 HOWTO
HOWTO